Purchase orders can be created manually in Evergreen when you don’t have a file of MARC records to upload. There are a couple of methods you can use. You can create a purchase order initially by using the Create Purchase Order option in the Acquisitions menu, or you can create a purchase order when you select a title to add to a purchase order.
Create the Purchase Order Initially
- Go to Acquisitions => Create Purchase Order
- Fill in the form. If the optional Name field is not filled in the PO Name will be the PO ID.

- Click Create. Your blank purchase order will appear.

- Make note of the PO Name. You will need it to add titles (line items) to your purchase order.

- Go to Cataloging => Search the Catalog (New) and search for your first title.
- From the record summary screen of the title you want to order click on the Other Actions menu and select View/Place Orders.

- The Lineitems Related to Bib Record screen will appear showing the Record Summary and the line item that will be added to your purchase order.
- Click on the Add to Purchase Order button.

- In the input box that appears, enter PO Name (or start typing the name and select it from the list) and click Apply.

- The purchase order appears with the line item added to it.
- Fill in the Estimated Price in the line item.

- Repeat steps 5-11 to add additional line items to your purchase order.
- When you have finished adding line items to the purchase order you will need to add the line item details information.
Create the Purchase Order with the First Line Item
- Go to Cataloging => Search the Catalog (New) and search for your first title.
- From the record summary screen of the title you want to order click on the Other Actions menu and select View/Place Orders.
- The Lineitems Related to Bib Record screen will appear showing the Record Summary and the line item that will be added to your purchase order.
- Click on the Create Purchase Order button.

- Fill in the form. If you do not fill in the optional Name field the PO Name will be the PO ID. NOTE: Do NOT check off the Import Bibs and Create Copies checkbox.

- The purchase order is created with the line item added to it. Make note of the purchase order Name so that you can add additional line items to the PO.
- Fill in the Estimated Price in the line item.
- You can continue adding line items using steps 5-11 from the Create Purchase Order Initially section above.
Add Copy (Item) Details to Line Items
Batch Updater
You can use the Batch Updater to add one or more item attributes to one or more line items in batch.
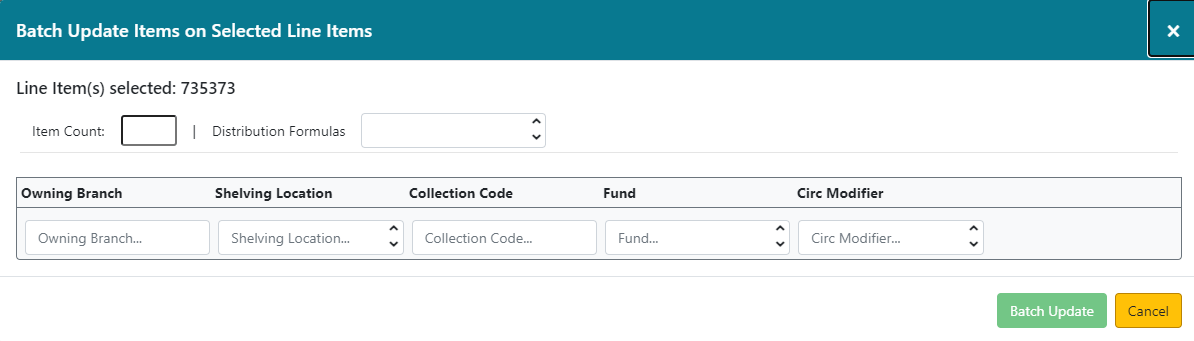
- Enter the Item Count (number of items you are ordering).
- Select the owning branch from the dropdown.
- Select the Shelving Location from the dropdown. On Order will be used if none is selected
- The Collection Code field is a free text field and is optional.
- Select the fund from the drop down.
- Select a circulation modifier from the drop down (recommended).
- Select the line items you want to apply the attributes to by doing one of the following:
- Check off the box to the left of the title in each individual line item. You would use this method if funds, etc. will differ in the line items in the purchase order.
- Check off the Line Items In Page option to apply the batch update to only the line items viewable in the page.
- Check off the All Line Items option to apply the batch update to all the line items in the purchase order.

OR
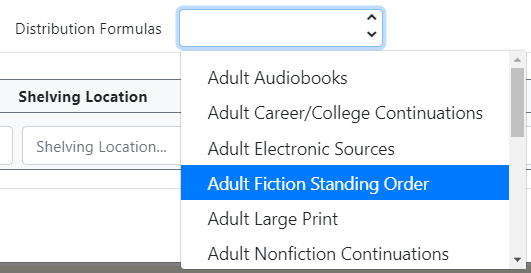
If you have set up Distribution Formulas you can select a distribution formula in the Batch Updater to apply to one or more selected line items.